
At Screaming Circuits, we know that how you panel your boards has a real effect on cost, throughput, and yield, and the right strategy isn't the same for a 20-unit prototype run as it is for full production. Get it right at each stage, and you save substrate, machine time, and rework. Here's what changes as you scale.
What is a panel?
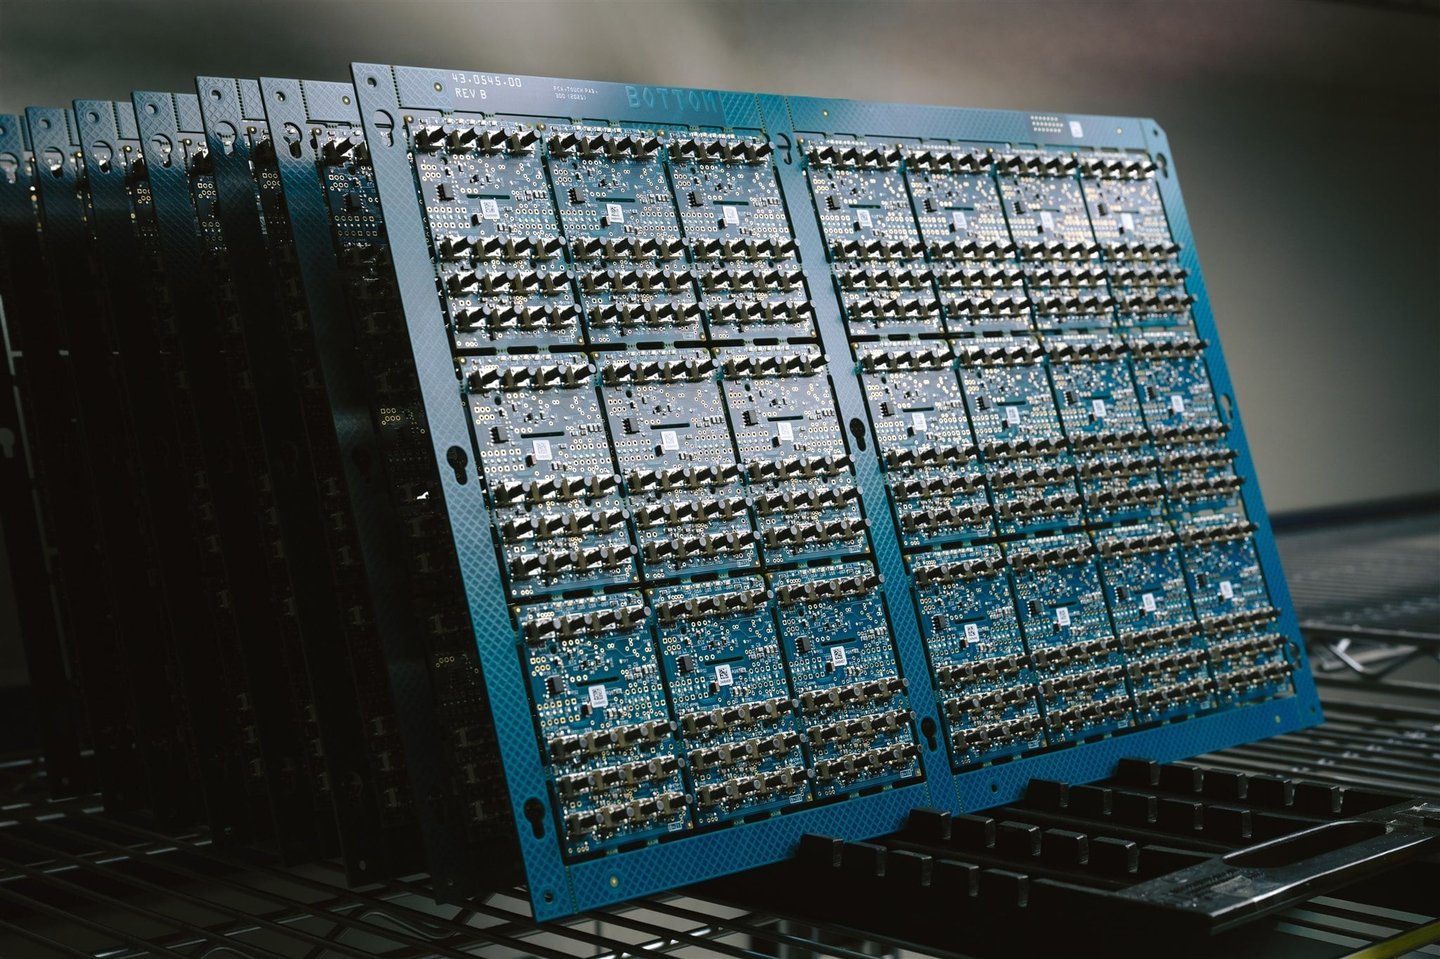
A panel is an array of printed circuit boards (PCBs) built at the same time. For very small or odd-shaped PCBs, having them in a panel is highly recommended and in some cases necessary. Panelizing your boards streamlines SMT assembly so both prototype and volume builds produce more boards in less time, which means faster turnaround and lower manufacturing cost for you.
The best panelization strategy for a prototype is often different from the best strategy for volume production. Here's how to think about each.
When should you panel a prototype?
Paneling falls into three tiers, from optional to required:
Worth considering
- You're building more than 20 units
- The PCB is round or otherwise non-rectangular
Strongly recommended (any one of these)
- Quantities over 50
- SMT parts within 6 mm of the board edge
- Any board dimension under 55 mm (about 1.97 in)
- PCB area under 0.75 sq in
Required
- All small to mid-volume production orders must be paneled
When is a panel not required?
A panel isn't required when:
- The single PCB area is more than 40 sq in
- The design already has a panel defined in its data
- The cost of panelization, or the tooling needed to depanel, is prohibitive
In that last case, we'll review the board design and give you feedback before moving ahead.
How many boards go in a prototype panel?
For prototypes, the number of PCBs per panel depends on board size and the complexity of the packages on it. We prefer to spread prototype quantities across multiple panels whenever possible. This helps improve manufacturability and gives complex builds a better chance of running smoothly with fewer placement or handling issues.
Our panel sizes:
- Ideal: 9" x 11"
- Minimum: 3" x 3"
- Maximum: 14" x 19" (anything larger calls for a conversation with our engineering team)
For complex designs, we keep it to six or fewer per panel when any of these apply:
- More than two components with pitches under 0.4 mm
- Leadless parts such as QFNs, LGAs, BGAs, and Bluetooth-style modules
- An expensive or hard-to-source part
- Long lead times, or only enough parts supplied for the build
- Custom parts
- Parts over $150 each
What changes when you scale to volume?
As you move into production, the math shifts. Wasted substrate that barely registers on a prototype run adds up fast at volume, so panelization usually gets re-optimized once the design is finalized to make the most of every array.
Panel size and array also affect pick-and-place efficiency, machine utilization, and overall throughput. An array lets the machines populate multiple units per cycle, so you get more out of every SMT run. Standardizing panel width cuts setup time, because the conveyor rails don't need readjusting between jobs. Mirrored panels, on the other hand, create extra programming work and are best avoided at volume, though they're a non-issue in prototyping, where simpler, lower-volume equipment handles the job.
New board features you'll need at volume
Scaling also adds requirements to the board itself. Fiducials give machine-vision systems the reference they need for placement accuracy, and tooling holes stabilize the PCB on its carrier if the design requires one. Leave a solder-mask keep-out around each fiducial, typically a 1 mm fiducial with a 2 mm keep-out. Solder mask over a fiducial can keep the vision system from "seeing" it, depending on the color.
Choosing a panel size for production
At volume, an EMS provider will usually have width preferences and may cap panel size based on its equipment. PCB fabricators build their panels in larger sheets, commonly 12" x 18" or 18" x 24", so design your array to consume most of that area. Your fabricator can advise on the optimum array size for the sheet they'll use, which minimizes wasted substrate. (Our own maximum is 14" x 19".)
Bigger panels can also cost more: they may need board-support tooling or special handling, both of which add non-recurring tooling costs.
Even single boards that aren't paneled sometimes benefit from added rails or a frame. Add them when:
- Part bodies sit less than 6 mm from the board edge
- The board isn't square or rectangular
- The board uses rigid-flex technology
Depanelization: V-score vs. tab routing
Once production wraps, individual boards have to be separated from the panel, a step called depanelization (or singulation). The two most common methods are V-score and tab routing with mouse bites, and they trade off speed against edge quality:
- V-score is the faster method and the best choice for straight, long runs with no overhanging parts. A circular blade follows the groove and cuts the remaining material, so make sure no parts sit next to or hang over the groove, where they could be damaged during depanel.
- Tab routing is the better choice when there are no straight edges (round boards, for instance) or no clearance for V-score. It takes noticeably longer and can leave a rougher edge that may need cleanup. Keep route paths at least 0.050" wide.
Both methods add to fabrication cost, so factor depanelization into your panel design from the start.
Designing for the whole journey
Panelization is a good example of why we look at the entire build, not just the board. Sourcing, assembly, and the path to volume all shape the right array. And because we're a division of Milwaukee Electronics, that path runs from your first prototype panel all the way to large-scale production, without changing partners along the way.
Scaling a board from prototype to volume? Send us your design, and we'll help you optimize the array for each stage. Request a quote today.